
Custom Dies & Templates
Flexible Metal Dies
Order your own custom die designs, tailored specifically to the RD435.
Using custom flexible dies allows you to make virtually anything you want within limitations per machine and die company options. To use one of our print templates or make your own custom design, follow the steps below to ensure your print and die work correctly.
Getting Started
Choose whether you will be designing for one of our standard dies or your own custom die.
Standard dies can be easily ordered by downloading one of our templates then create your custom design. Follow the steps below to make sure your design will be cut properly.
Custom dies can be made by downloading a blank template then following the design steps below.
Step 1: Templates
Standard Templates
PDF Template: If you are using a PDF template, be aware that this file contains both the cut lines and the registration mark. Skip to step 2c if you are using a Standard Template PDF.
Ai Template: If you are using an Adobe Illustrator Template, the cut lines are on a separate template layer that will not show after export. You can simply create your design then save for print. Skip to step 3 if you are using a Standard Template Ai.
Blank Templates for Custom Dies
Download a blank template of the sheet size you intend to use. To make your own custom design, it is important to follow certain specifications. Here are a few terms you will need to know:
Leading Edge: The short edge that feeds into the RD435
Gear Side: The long side of the sheet that will be used to guide the sheet through the die cutter.
Registration Mark: The black mark that allows the RD435 to sense the next page to be fed into the die cutter. The sheet will not feed without this.
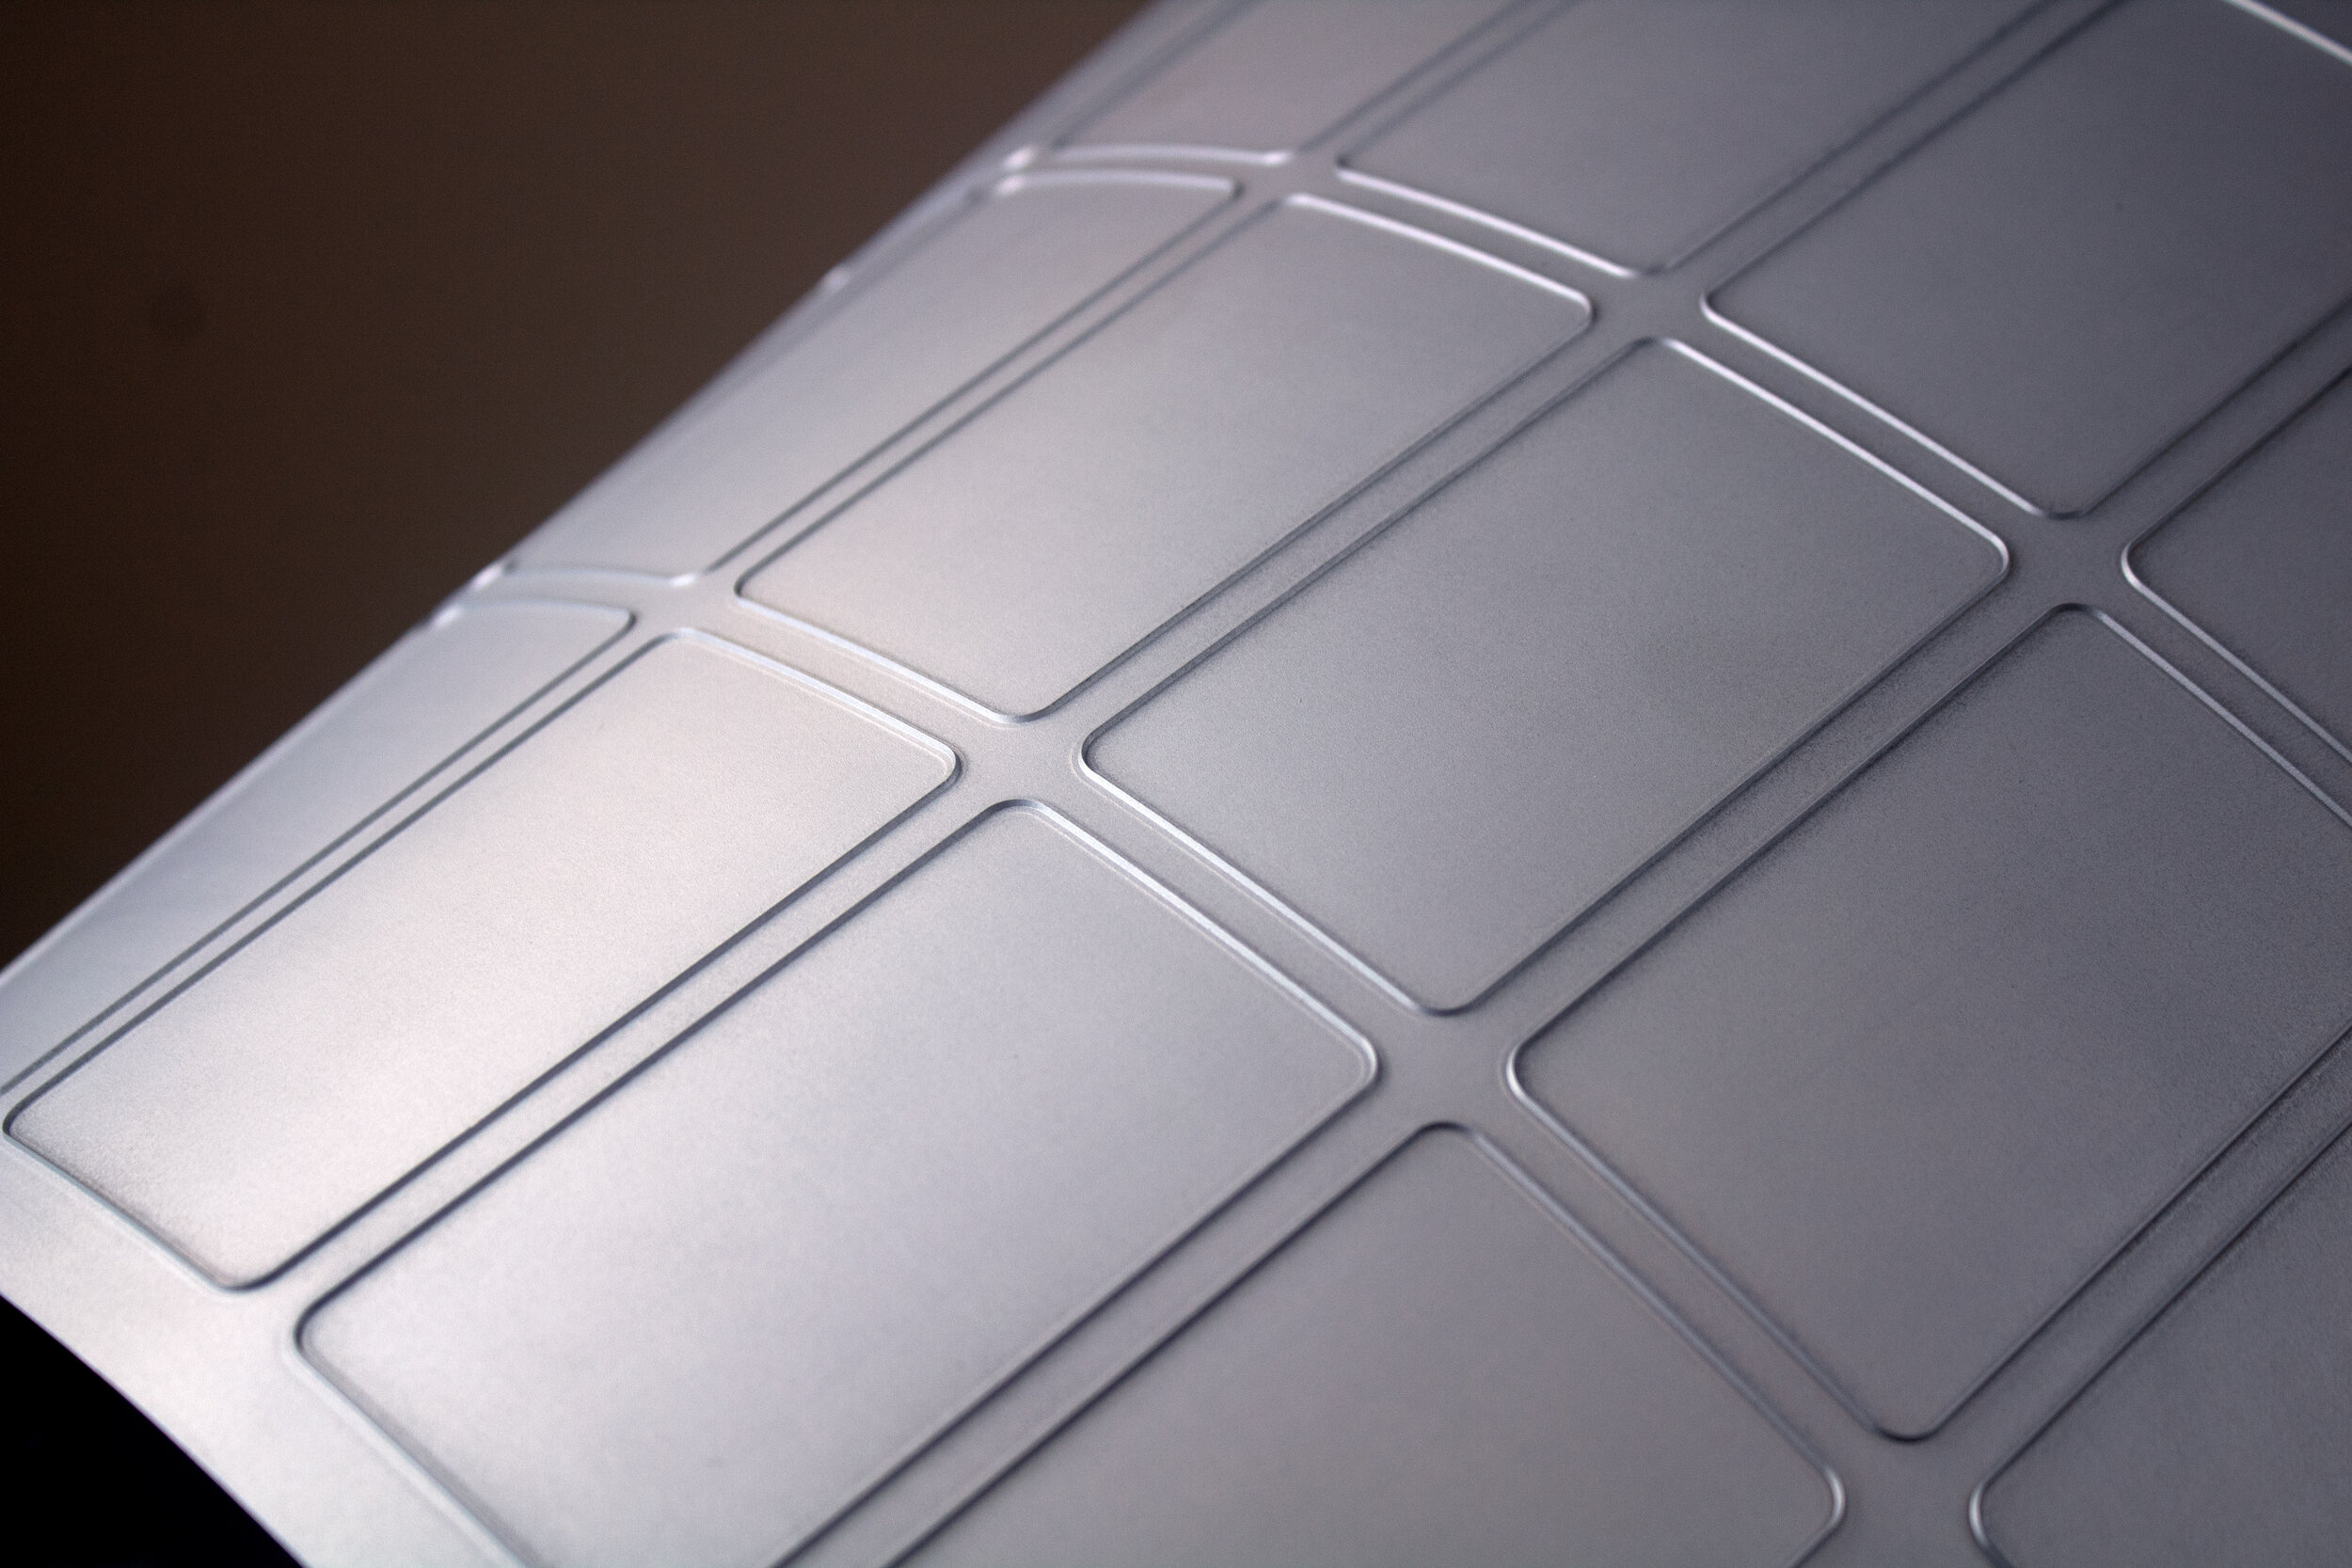
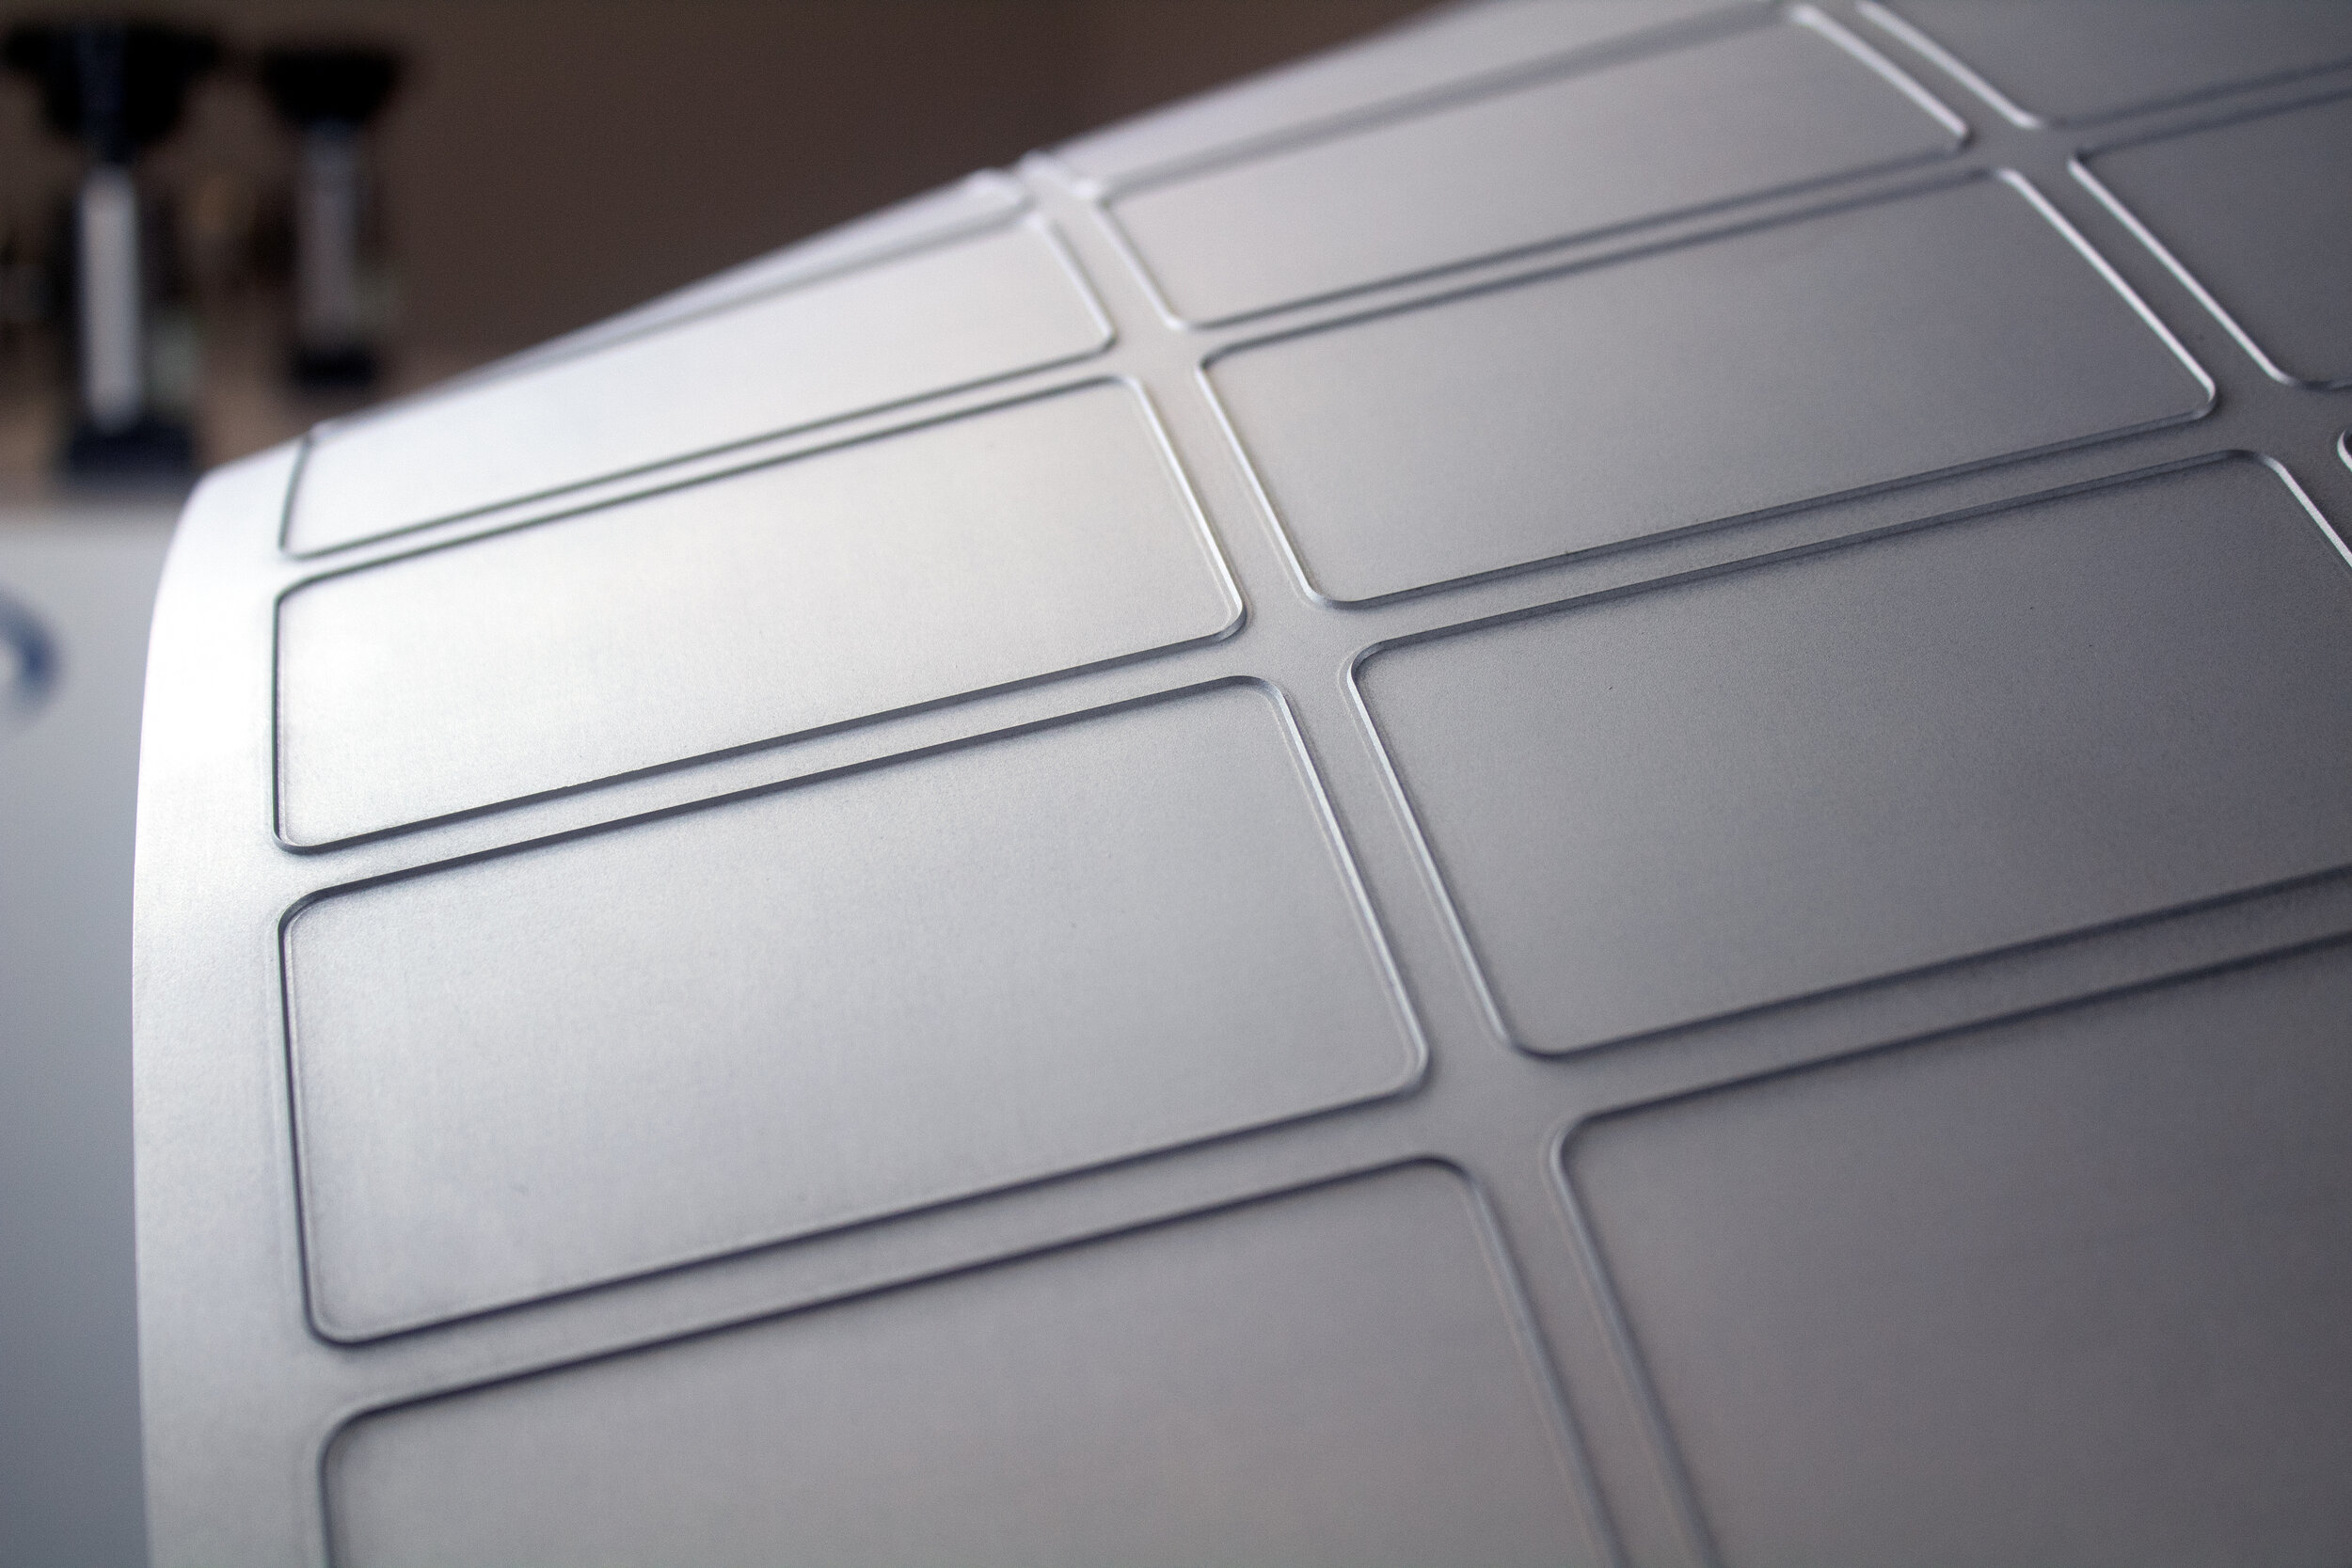
Step 2: Cut Lines
2a. Margins & Gutters
Note the area in which cutting elements can be placed, allowing for 1.5” from the leading edge and at least .25” (.375” recommended) from the sides and back edge of the sheet.
Stripping Applications
Elements also need to have enough space between each other and have a straight gutter between .4” and .5” wide through the sheet in order for the scrap diverter to separate the cut pieces from the scraps of the sheet.
NOTE: Gutters less than .4” wide and more than .5” wide WILL NOT strip. The maximum .5” gutter does not apply to the gear side edges.
Non-Stripping Applications
Applications that are not intended to be stripped will come out in a whole sheet. You may need to add nick marks to make sure that pieces stay in the sheet if you do not want them falling out. Two nick marks on each piece: one on the leading edge and one on the trailing edge in order to hold it in place.
2b. Mark Cut Lines
Flexible metal dies are capable of many types of cuts including perforations, scores, kiss cuts, beveled edge cuts, embossing, and more. If you are doing anything other than a regular cut line, be sure to indicate these lines by labeling them or providing a key at the bottom of the sheet.

2c. Duplicate (PDF only)
If you are using a PDF template, be aware that this file contains both the cut lines and the registration mark. Create a duplicate file for designing in step 3 so that you have the following two separate files:
Cut Lines File: no registration mark, only cut lines.
Print File: registration mark and keep the lines initially as guides for your design, then remove the lines once the design is complete. v
Step 3: Create Your Design

3a. Registration Mark
It is essential to make sure the registration mark (1” x .3”) is .5” from the right side of the sheet and .375” from the leading edge as depicted.
NOTE: When using a Tri-Crease*, the registration mark must be printed on the back side of the sheet.
3b. Design & Bleed
Use the cut lines to guide where to place your design. A bleed of at least .25” past the intended cut line as well as a margin of at least .1875” is recommended to compensate for any shifting during the die cutting process. Please keep important information such as names, phone numbers, logos, etc within the margin to ensure their safety.
3c. Remove/Hide Cut Lines
When you are finished creating your design, remove or hide the cut lines so that they do not show on the final print. (Tip: Adobe Illustrator hides layers set to ‘Template’ when exporting.) In this step, the lines are only visual guidelines and should not be in the Print File.
Step 4: Submit the Die File
Ordering from one of our die manufacturer partners
Contact your local die manufacturer to order your die to the RD435 specifications. The linked page below has a pre-filled order form to make the ordering process easier.
NOTE: When using a “Tri-Crease” cut, you will need to send the inside of the crease lines, as depicted, to the die manufacturer or otherwise clarify.
Or

*The Tri-Crease is a crease that consists of three separate lines to create a clean, folded edge on your design. In order for the edge to fold the correct way, the scores must be made on the back of your sheet in order to be on the inside of the fold. When sending your cut file to the die-maker it is important to indicate that you are using a Tri-Crease line, and then be sure to print the registration mark on the back of the sheet.